
Good Monday to you! :) How'd the weekend treat you?
Early Saturday morning found me freezing my little tail off down at a local yard sale/ craft show (mostly yard sale) in the freezing wind with some lovely rain to accompany it...I was excited once I sold a bunch of "junk". Not really junk...rather great stuff that was actually well loved :).
Mid Saturday found me at Tommy's baseball game....(still cold and breezy...less rain!) The game was great...he loves baseball...
Saturday afternoon found me at a BBQ/ Fall Bash at one of Studley's co-workers. They have it every year and it's a party we go to religiously. It's one of the BEST times around and it really shows what amazing people Studley works with and for...and how "family" oriented they all are. It's a great group of people and ALWAYS a great time!
Sunday. Sunday was a lovely lazy Sunday. Freezing cold, which meant the most delicious white chili for dinner with homemade tortilla chips. (definitely forgot to make my famous cornbread!) I also spent nap time doing a lovely craft while my boys practiced their drawing. They decided it was time to practice being an artist because "Mom is an artist" hehehe....
So would you love to see my end product? How about a tutorial on how to make your own? I know plenty of Etsy shop owners who are going to be pretty upset at this...but it's ok :).
 |
| Yes, that's Studley's hand...whatta sweetheart! :) |
Hadleigh has a nice collection of bows, clips and headbands...not to mention hats and such...but I've been finding bows and clips all over the place. Everytime she decides she's done she pulls it out and I set it down and then spend more time looking for them than she does wearing them!
SO...boom...accessories holder......SUPER CHEAP!
What you'll need:

Letter (it was already white and it's big! Michael's + coupon = $2.39)
1.5 inch ribbon (1 spool, it will use an entire spool, I used what I had on hand.)
7/8 inch ribbon (just used for an extra embellishment)
Thread
Embellishments (I used scrapbooking elements I had)
Glue gun & glue stick
Matches or a lighter
This particular letter had holes in the back to hang on the wall so I didn't even need to hang it from anything. WIN!
First cut your first strip. Its length really depends on you and how much you plan on hanging on it. Mine are between 26" and 28" I just roughly measured it. Hot glue it down.


Now what you wanna do is take the rest of your 1.5 inch ribbon off of the spool so you can freely loop and tie it up. You wanna hot glue the tip of the other side as well.
Now you're gonna loop up your 1.5 inch ribbon up and behind. The loop is as big as you want. I did 3 loops, but your goal is that at the bottom it's as long as your straight side. So when you hang it they match. This is the most tedious part because you also need to make sure your loops are matching widths. For a perfectionist & OCD sufferer this part was not my favorite, but still pretty easy!

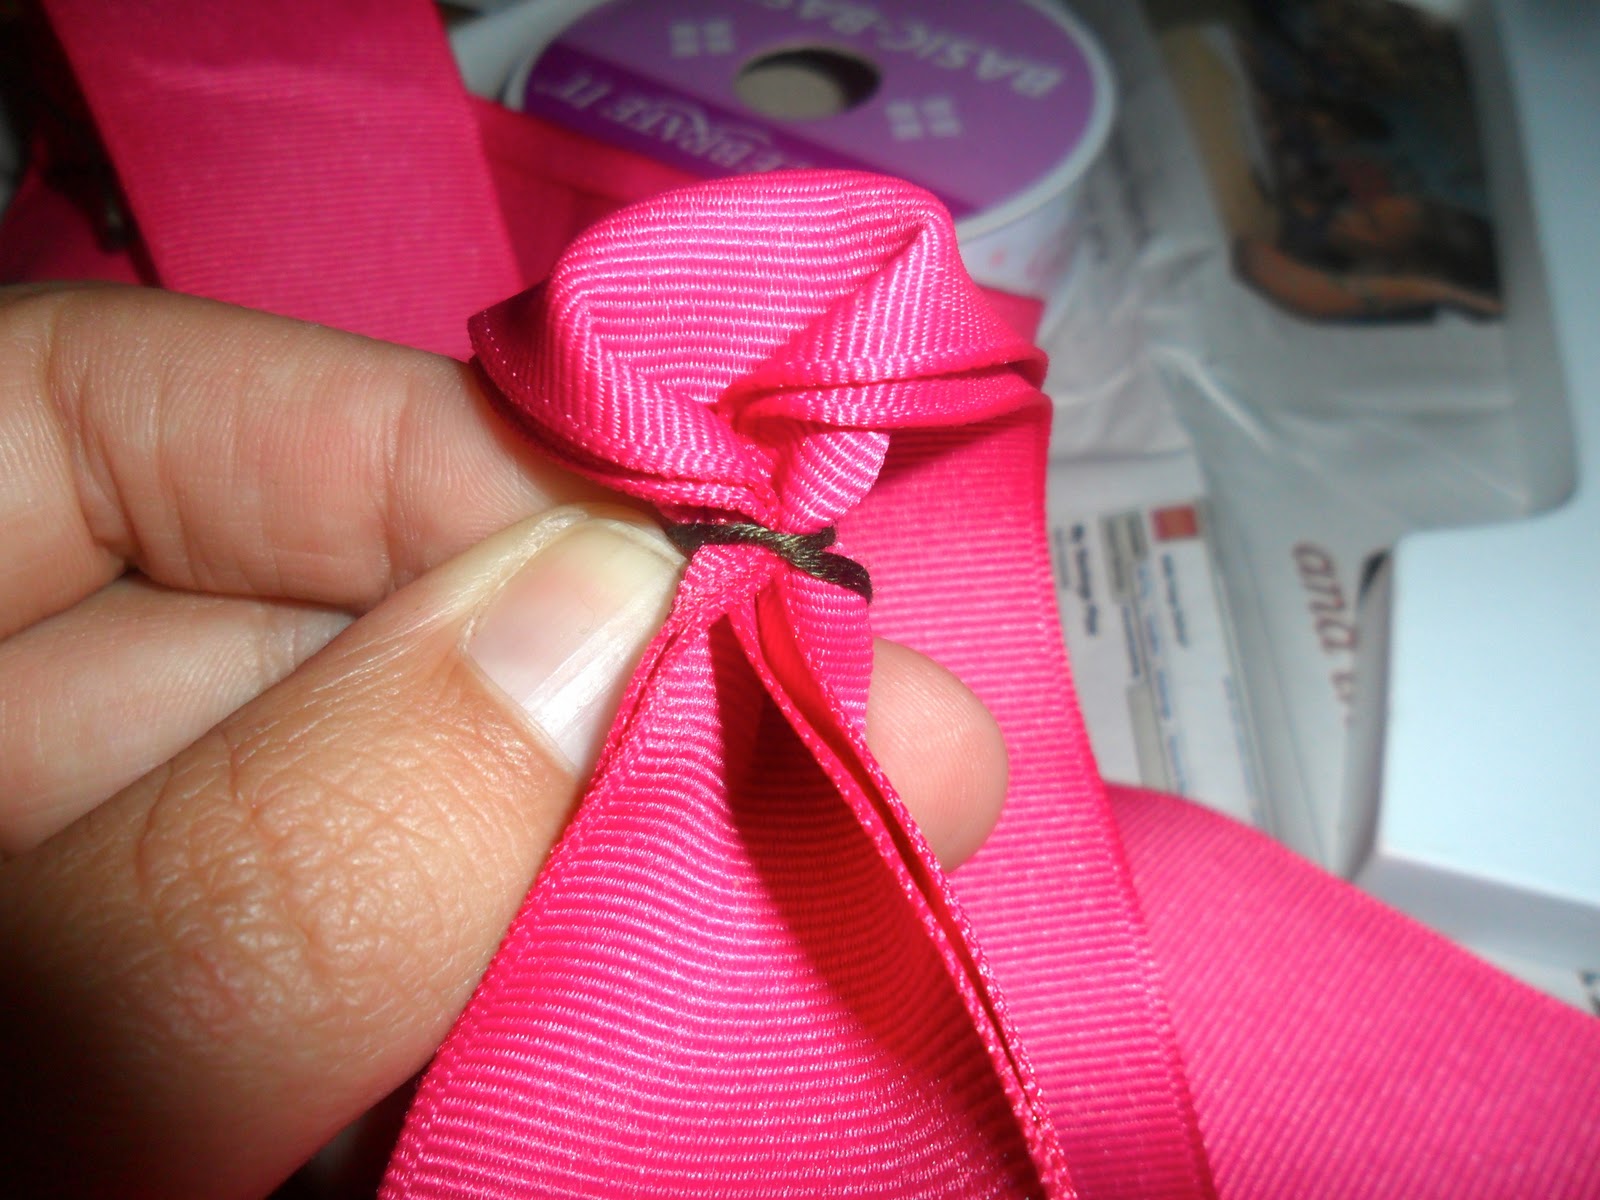

Then tie it up. I just used a couple square knots on top of each other. Don't worry this gets covered by your extra ribbon. These loops are what will hold your headbands. You'll do this 3 times to get 3 loops on the one side. Once you've finished with that you're just about done.
Now it's all about embellishments!
Take your 7/8" ribbon and cut nice sized strips. Wrap it around your ties. Tie a bow. This also took me a little while, because clearly they had to be perfect. I could still mess with them! :)

This is before I trimmed the ends of the bow.
Once you get those three bows done, cut the extra length off of your 1.5" ribbon so it is even with your straight side. Now it's time to move on. Get a match or lighter & run it close to the ends of the ribbon. This will heat seal your ribbon so it doesn't fray.
Take your extra 1.5" and tie an extra bow and put it on the top of your letter, or really wherever you please! Embellish as you like! I started out with a wooden word Princess, but it got nixed when it didn't look like it should (Brien had broken it, I tried to fix it...never looked cute again! I'm sure I could have taken more time with it, but I didn't want to.) I went minimal with the embellishments, but painting polka dots on the "H" crossed my mind. I went with 1 heart, 1 heart with a lock & 1 key. Threaded on itty bitty ribbon and hot glued by the bottom of the big bow.


And now you're done and have saved yourself a bunch of money! :) There's a lot that can be said for Michael's and their coupons :)...and a little ingenuity!
This is just a small selection of bows Hadleigh has from Girls & Curls Accessories!!! We love Mindy!
Go check her out! She's also on ETSY!!!
I hope you enjoyed the tutorial and I hope to see some photos of your own bow holders!! :)
XOXO,

No comments:
Post a Comment